Brows for Beginners: Shape, Fill, and How to Avoid Overdrawing
Filling brows is not drawing new ones. How to follow your natural shape, choose between pencil, gel, and wax, and fix the front before it looks painted on.
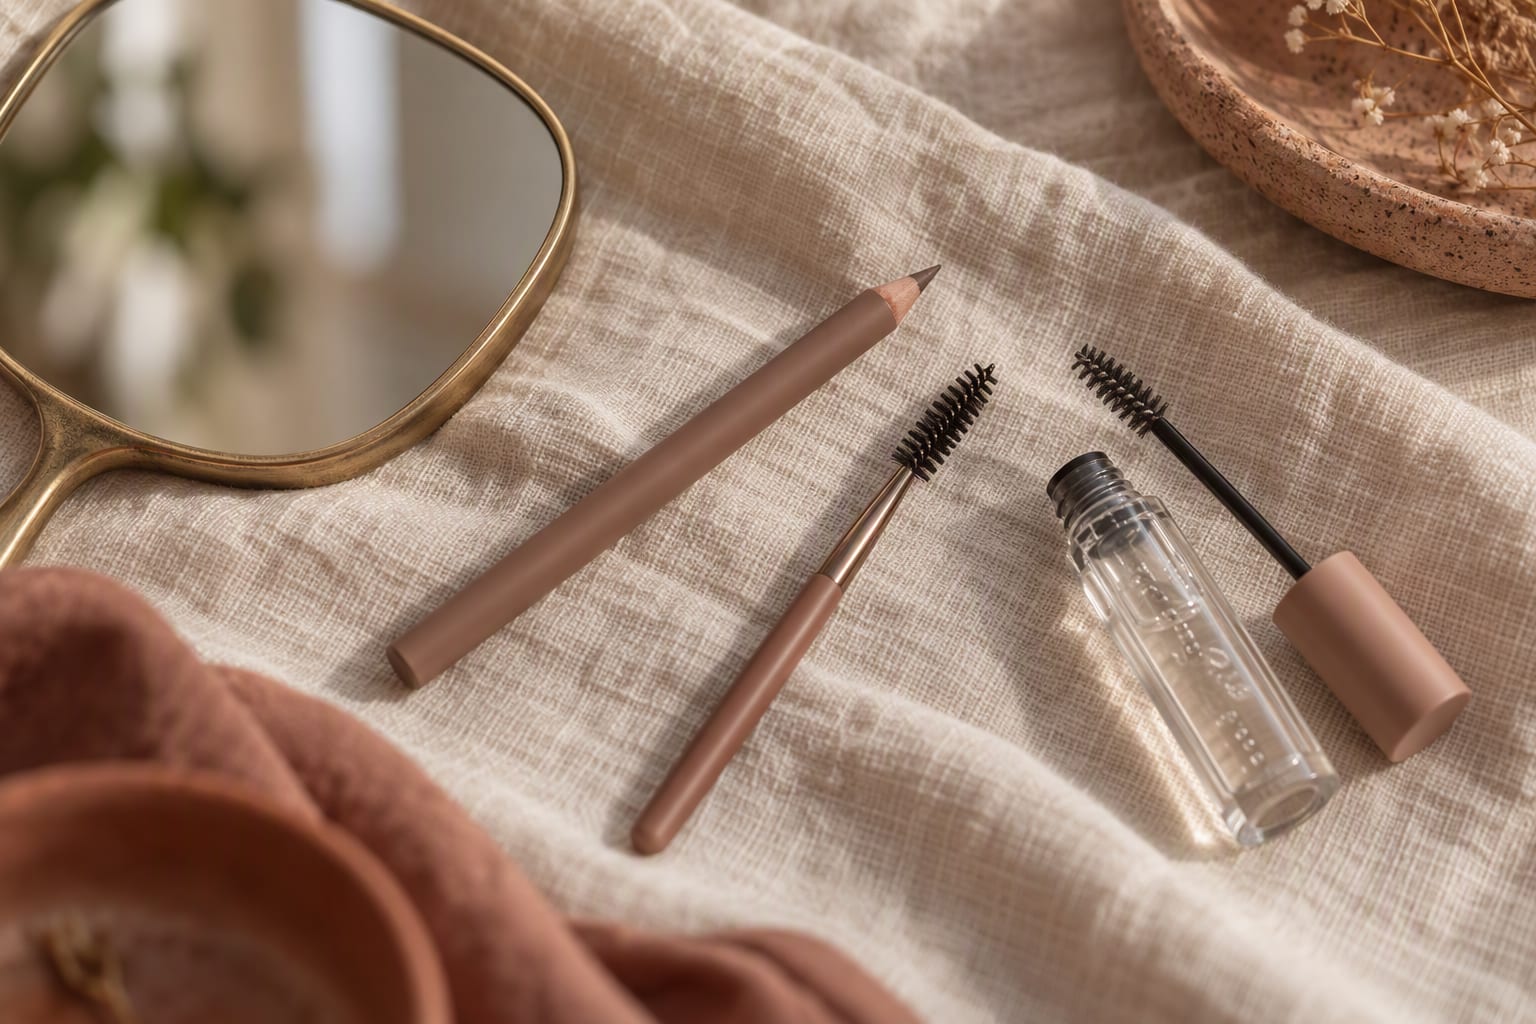
Buy a pencil and a gel and follow your natural shape; skip the stencil kit, because softness beats definition for a beginner.
Brows are the feature people notice first and mention last, and they are where beginners make the most visible mistakes. The usual problem is not that the brows are bad. It is that they have been drawn on top of rather than filled in, so they end up darker, thicker, and more solid than the rest of the face.
The goal is simple: make your brows look like more of themselves, not like a different pair of brows drawn over the top.
Start with your natural shape
Before buying anything, look at the brows you already have.
- The front, near the nose, is usually the sparsest part and the easiest to overdo. A light touch here keeps the brow looking natural.
- The arch is the highest point, roughly two-thirds of the way out. Follow it rather than fighting it.
- The tail is the outer end. It should taper rather than stop abruptly, and it should not drop lower than the front.
A common mistake is making the front too dark and square. Real brows are softer at the front and denser toward the middle. If you remember one shape rule, remember that.
If your brows are sparse from over-plucking or from age, you are not starting from zero. Fill what is there and leave the gaps that were never meant to be filled. Chasing a shape you saw on someone else rarely looks like you.
Pencil, gel, or wax
| Product | Best for | Finish | Difficulty |
|---|---|---|---|
| Pencil | Filling sparse areas, drawing fine strokes | Natural, defined | Easy to moderate |
| Gel | Setting hair in place, adding a little tint | Soft, brushed-up | Easy |
| Wax | Thick, unruly brows that need hold | Lifted, textured | Easy to moderate |
| Powder | Soft, diffused fill over larger areas | Soft, natural | Easy |
A pencil gives the most control and is the best starting point for a beginner. A gel is the fastest way to make brows look groomed, because it sets the hairs in place and adds a light tint. A wax gives stronger hold for thick or curly brows. Powder is the softest and most forgiving, but it does less for a defined tail.
Most people end up using two: a pencil or powder for fill, and a gel or wax to set. That combination covers almost every brow.
How to fill without overdrawing
- Brush the hairs up first. This reveals the gaps that actually need filling and shows you the natural direction of growth.
- Outline less than you think. Skip the full outline. Work in short, light strokes that follow the direction of the hair.
- Fill the sparse areas, not the whole brow. The middle and the tail usually need the most, and the front the least.
- Soften the front with a spoolie. Run a clean spoolie through the front of the brow to blend the product into the hairs. This one step fixes most overdone brows.
- Set with gel or wax. Brush the hairs up and slightly out, and press the product in.
The one rule that saves most brows
Less product, more strokes. A brow drawn with many light strokes looks like hair. A brow drawn with one heavy line looks like a line. If you can see the edges of your product, you have used too much.
Fixing a brow that has gone wrong
It happens to everyone, usually ten minutes before leaving.
- Too dark: go over the brow with a clean spoolie to lift product, then soften with a fingertip. If it is still too dark, a touch of concealer blended around the brow can lighten the overall effect.
- Too thick: brush the hairs up and out with a clean spoolie. Removing product is easier than covering it.
- Too drawn-on: soften the front and the inner edge, where the eye reads the shape first. A softer front makes the whole brow look less painted.
- Uneven: do not try to make them identical. Brows are sisters, not twins. Match the general shape and stop.
Who should buy what, and what not to overpay for
- Buy a pencil if you are a beginner, because it is the most forgiving and controllable.
- Buy a gel or a wax if your brows are thick or unruly and need hold, or if you want the fastest grooming step.
- Skip the full brow kit with stencils and multiple shades if you are just starting. One pencil and one gel cover the basics.
- Do not overpay for a brow product. The formula matters less than the shade match and the technique. A shade too warm turns orange, and a shade too dark looks harsh, so match to your hair and skin rather than to the packaging.
If your brows are sparse for a medical reason, or you are losing hair unexpectedly, see a doctor before buying more products. That is not a makeup problem. For everyday grooming, our makeup section covers how brows fit with the rest of a quick routine.
The bottom line
Buy a pencil and a gel, follow your natural shape, and fill with light strokes instead of outlines. Skip the full kit and the stencil, and do not overpay for packaging. The tradeoff is between definition and softness, and for a beginner, softness almost always looks better.
More in Makeup
View all
The Five Makeup Brushes You Actually Need
Five brushes cover almost every routine, and the other twenty just add clutter. A practical guide to the shapes that matter, plus how to wash them so they last.
How to Make Your Makeup Last Through a Long Day
Long wear is a method, not a product. How to prep, layer, and set makeup so it survives a commute, an office day, and an evening you did not plan for.
How to Choose Lip Color That Actually Suits You
The tube looked different on you for a reason. How undertone and finish decide lip color, why a swatch on your hand misleads, and how to test a shade that works.